
What Causes Injection Mold Flash?
Flash often begins with sealing gaps, tool condition, clamp force, or process pressure. Review the risk from the drawing forward.
Main Failure Paths for Injection Mold Flash
Use flash location, process history and mold-condition evidence to separate pressure-driven leakage from sealing, alignment and design-related causes.
Injection and Packing Pressure
Excessive fill or hold pressure can overcome local sealing force and drive melt through parting-line, insert or ejector clearances.
Clamp Force and Closure
Insufficient clamp force, uneven platen loading or incomplete closure can leave gaps that open under cavity pressure during filling.
Mold Wear and Alignment
Worn parting surfaces, damaged inserts, slide mismatch or guide wear reduce sealing integrity and localize flash at repeatable interfaces.
Melt Temperature and Viscosity
Overheated or unusually low-viscosity material enters small clearances more readily, so verify material condition, drying and temperature history.
Part and Tool Design
Thin shutoffs, poor vent placement, weak support or difficult flow paths can magnify deflection and make a stable process harder.
Evidence Before Adjustment
Map flash to the drawing, cavity and cycle changes before correction; distinguish a parameter excursion from a repeatable tooling issue.
Diagnose Injection Mold Flash by Location
Parting Line Flash
A continuous fin along the parting line points first to cavity sealing under load. Review mold closure, clamp-force adequacy, parting-surface wear, alignment, and whether injection or packing conditions are forcing melt beyond the available seal. Source: https://www.plasticsengineering.org/2024/09/intro-to-plastics-flash-in-injection-molding-006723
- Map flash thickness around the full parting perimeter
- Check mismatch, damage, contamination, and daylight at shutoffs
- Compare onset with fill, transfer, and packing settings

Ejector Pin Rings
Flash around ejector pins directs the investigation toward local clearance, pin condition, and plate guidance rather than a blanket process adjustment. Document which pins flash, their orientation, and recurrence by cavity before evaluating wear, pin fit, venting, and pressure history.
- Mark affected pin positions on the tool or part drawing
- Inspect pin heads, bores, and local support conditions
- Separate isolated pin flash from system-wide cavity overpressure

Insert and Slide Interfaces
Flash at inserts, slides, or lifters can indicate a local sealing or positioning problem at a moving interface. Review shutoff geometry, seating, guide condition, thermal movement, and the pressure direction acting on that interface before deciding whether process settings require revision.
- Identify whether flash follows a specific insert or moving component
- Review shutoff contact, guide wear, and repeatable seating
- Relate the defect to gate position and expected pressure path

Vent-Area Flash
Flash at a vent requires a balanced review: the vent must release air without becoming a melt escape route. Confirm the defect location against the drawing, vent condition, fill pattern, and pressure profile before changing vent geometry or reducing process settings.
- Record vent location relative to last-fill areas
- Inspect vent land condition and contamination
- Review fill speed, melt condition, and pressure needed to fill

A Practical Sequence for Diagnosing Injection Mold Flash
Separate repeatable tooling evidence from process variation before changing settings or reworking steel.
Capture the Flash Pattern
Record flash location, cavity number, cycle timing, resin lot, process settings, and affected dimensions. Photograph parting lines, inserts, vents, slides, and ejector interfaces.
Check Mold Closure
Review parting-line seating, guide condition, insert fit, slide support, ejector-pin clearance, and trapped-part risk. Compare the flash location with visible wear, damage, or mismatch.
Review Process Conditions
Compare injection, transfer, packing, melt-temperature, mold-temperature, and clamp-force records against the validated window. Change one controlled variable at a time and preserve trial evidence.
Confirm Design and Tooling Actions
Assess datum strategy, shutoff geometry, venting, machining access, grinding stock, and repair feasibility. Define drawing revisions, tool corrections, inspection criteria, and approval evidence before release.
Where Mold Flash Creates Production Risk
These configurable manufacturing families help teams isolate flash causes and assess corrective-action readiness before tooling returns to production.
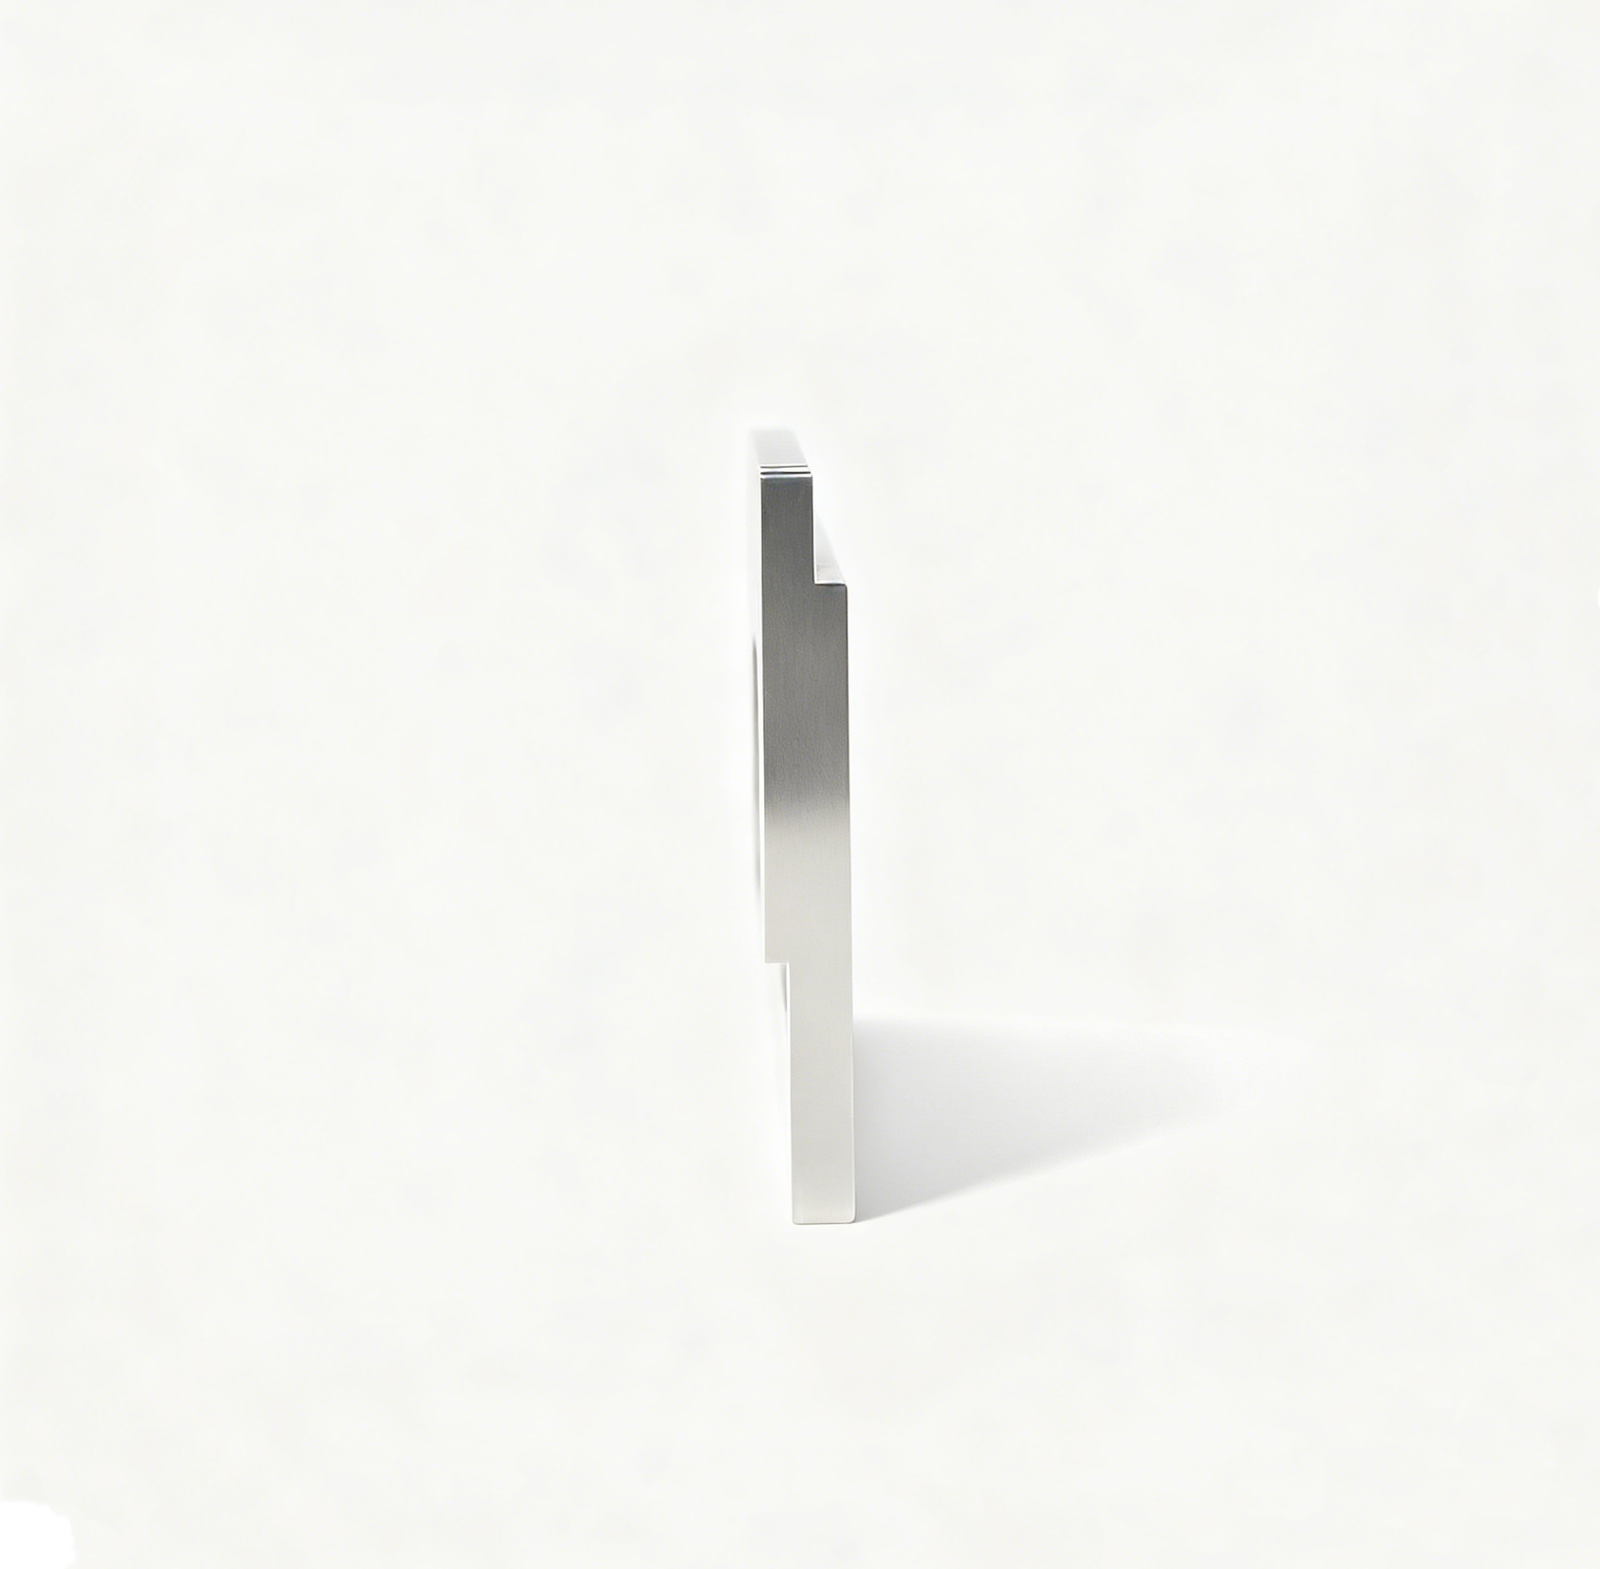
CNC Machining Services
Precision CNC machining services support replacement and corrective-action tooling components when flash investigations identify damaged shutoffs, mismatched inserts, or inadequate support. Drawings should define critical datums, sealing interfaces, material condition, and inspection requirements before manufacture.
Upload a Drawing
CNC Milling
Custom CNC milling services produce mold plates, inserts, pockets, and shutoff features whose flatness, positional control, and tool access can affect parting-line contact. Corrective-action review should compare machined geometry against the approved revision and flash location.
Upload a Drawing
CNC Turning
Precision CNC turning services are applicable to rotational mold and support components, including bushings, sleeves, pins, and locating features. For flash-related replacements, review diameters, concentricity, mating clearances, surface condition, and heat-treatment sequence against the drawing.
Upload a Drawing
5-Axis Machining
5-axis CNC machining can provide access to angled shutoffs, contoured cores, and complex cavity features in fewer setups. Teams evaluating flash corrective action should confirm datum transfer, accessible measurement points, remaining EDM work, and the inspection plan for sealing surfaces.
Upload a Drawing
Swiss & Micro Machining
Swiss machining and micro machining support small-diameter pins, sleeves, connector features, and precision details where clearance strongly influences molding behavior. Specify functional dimensions, straightness, burr control, material, and inspection method when a small component may contribute to flash.
Upload a Drawing
Wire & Sinker EDM
Wire EDM and sinker EDM services create sharp internal profiles, narrow gaps, detailed cavities, and hardened-tool features. Corrective-action evidence should address wire path or electrode strategy, corner geometry, recast-layer considerations, finish requirements, and post-EDM fitting or polishing.
Upload a Drawing
Precision Grinding
Precision surface and profile grinding establishes controlled flatness, parallelism, profiles, and fitting stock on mold components. When flash occurs at a shutoff, review grinding allowance, contact pattern, profile measurement, and whether post-heat-treatment distortion was considered.
Upload a Drawing
Mold Core & Cavity Inserts
Precision mold core and cavity inserts form the molding surfaces and shutoffs that directly govern flash risk. A corrective-action package should identify the affected interface, revision, material condition, critical dimensions, surface requirement, and inspection evidence for the repaired or replacement insert.
Upload a Drawing
Ejector & Ejection Components
Ejector pins, sleeves, and ejection components require controlled clearance, alignment, and surface condition to avoid material leakage and wear-related flash. Review pin-to-hole fit, guide condition, venting context, stroke-related wear, and dimensional records before approving replacement parts.
Upload a Drawing
Core Pins, Guide & Locating Components
Core pins, guide pins, and locating components establish repeatable alignment between mold halves and inserts. Flash at parting surfaces can indicate lost location or worn guidance; assess fit, positional relationship, hardness requirements, wear condition, and measured replacement-component dimensions.
Upload a Drawing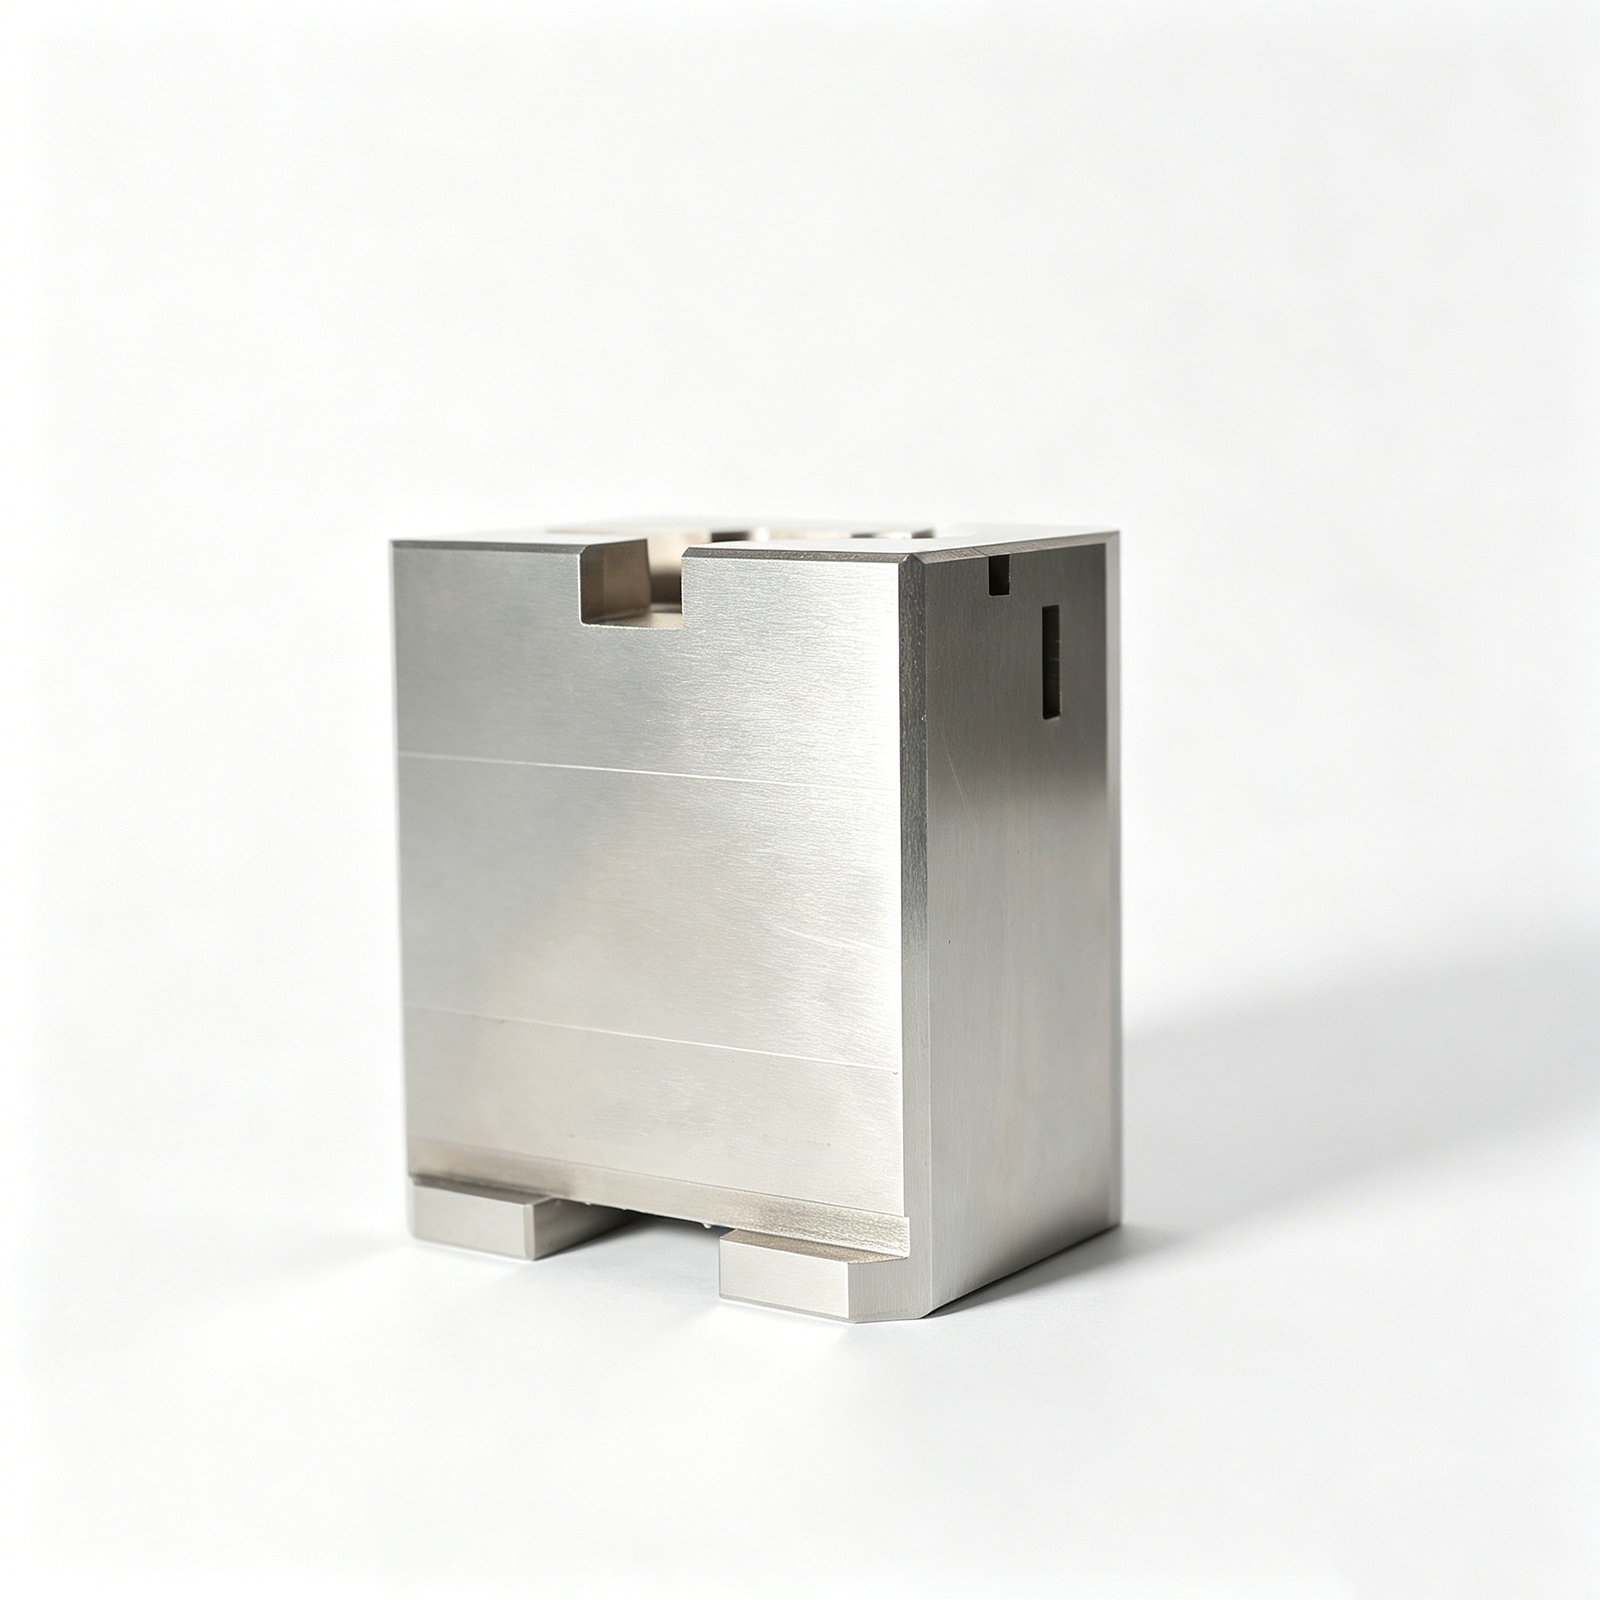
Slides, Lifters, Gates & Mold Accessories
Mold slides, lifters, gates, and accessories combine moving interfaces, shutoffs, and alignment features that may change under molding load. Corrective action should document contact areas, slide or lifter travel, gate-related geometry, wear observations, and verification after fitting.
Upload a Drawing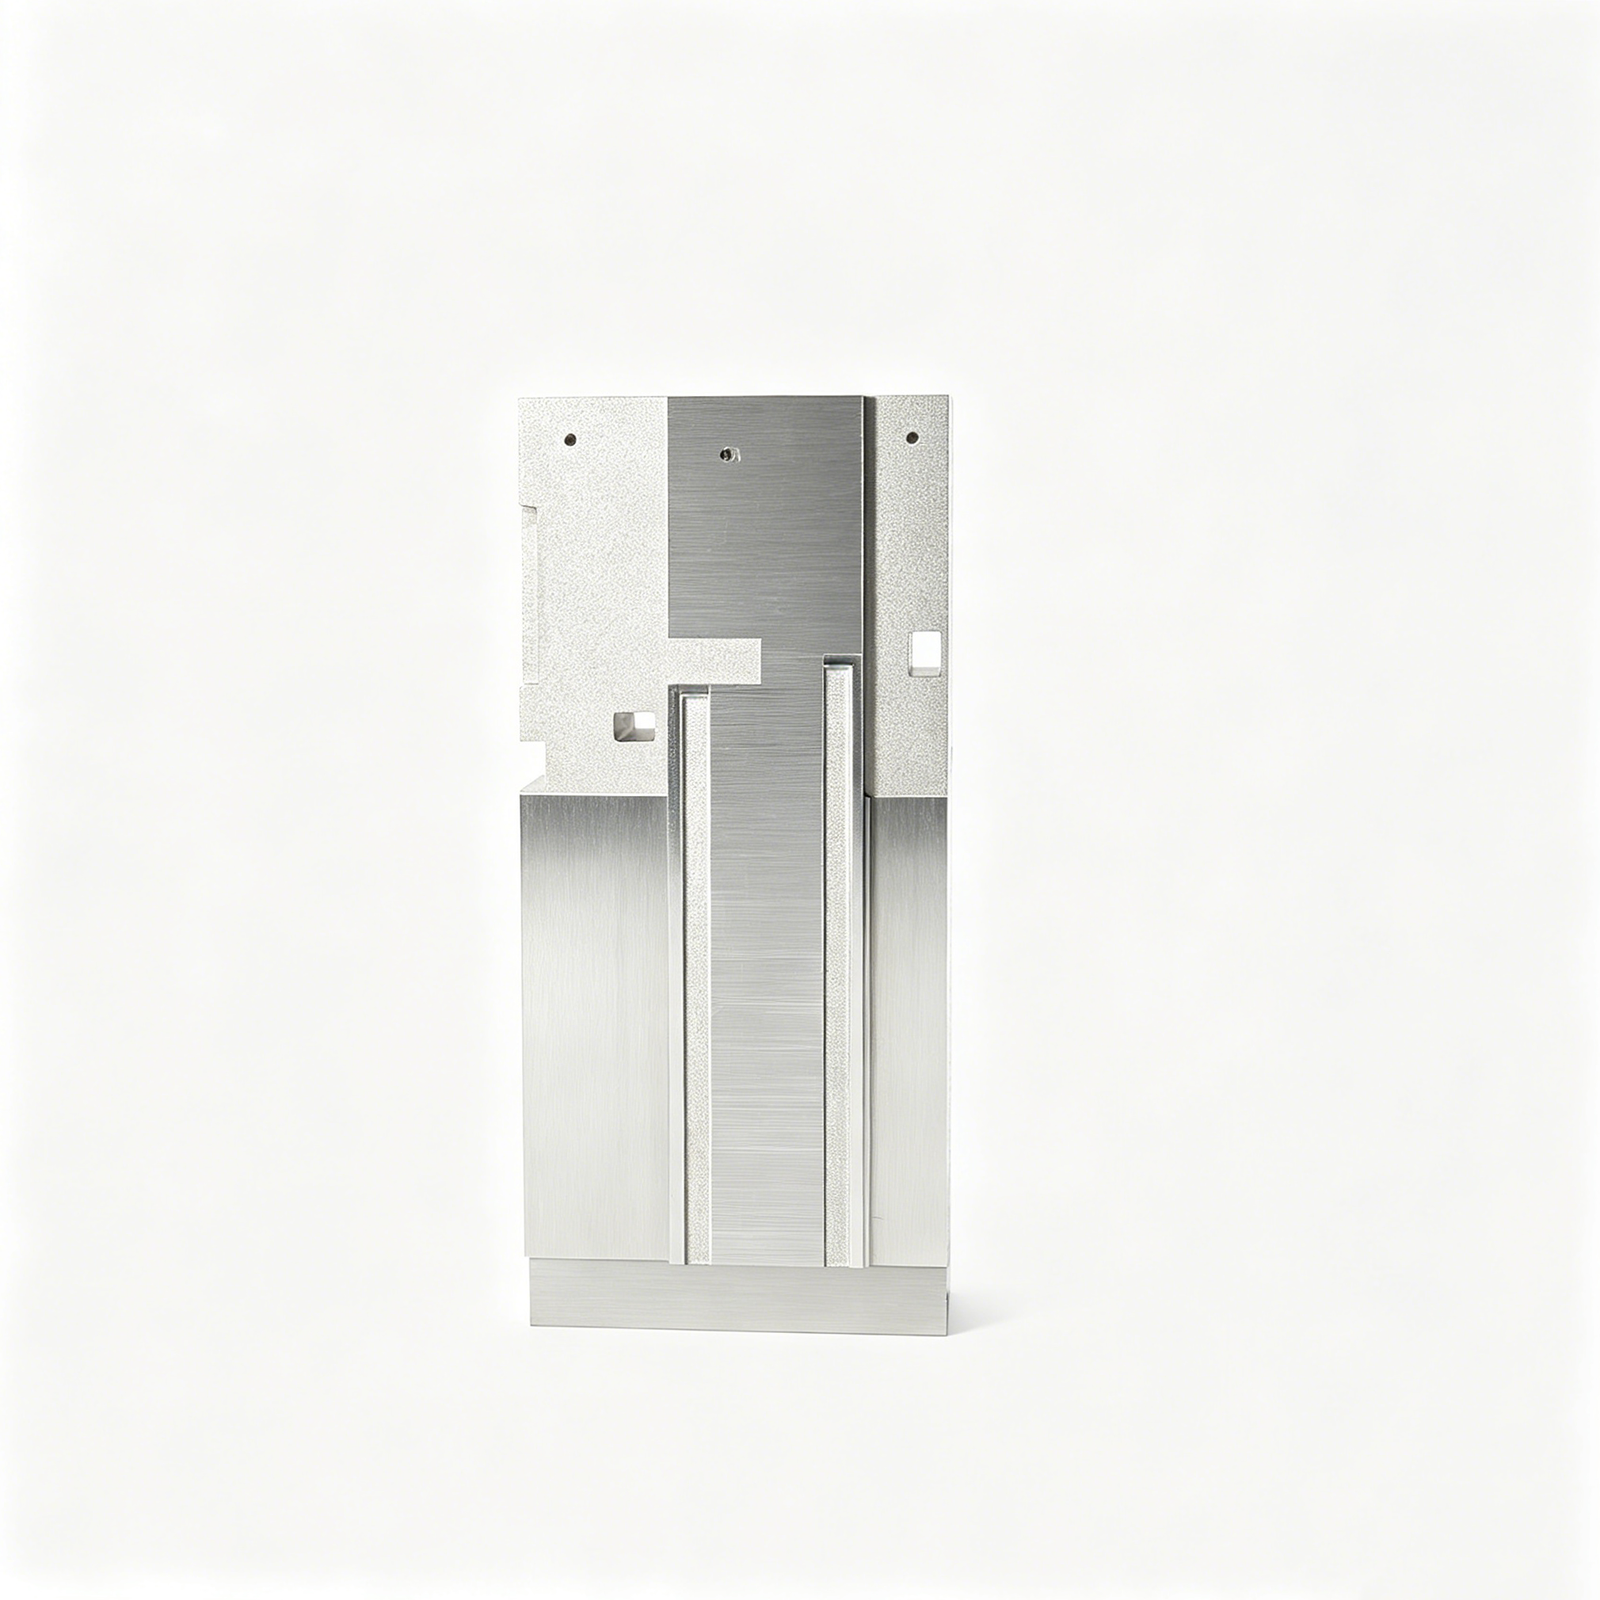
Connector Mold Components
Precision connector mold components often contain dense pin arrays, fine shutoffs, and tightly controlled mating geometry. Flash evaluation should focus on cavity alignment, pin and insert location, EDM detail quality, burrs, and inspection evidence tied to the affected connector feature.
Upload a Drawing
Stamping Die Components
Precision stamping die components are produced for drawing-driven die assemblies, where clearance, alignment, and edge condition affect forming results. Although their application differs from injection molding, the same corrective-action discipline applies: define critical interfaces, revision status, measurement method, and fitting evidence.
Upload a Drawing
Injection, MIM, CIM & Overmolding Tooling
Injection, MIM, CIM, and overmolding tooling may require different material behavior, feature scale, and process considerations, but flash control still depends on sealing geometry and stable alignment. Confirm the application, molding conditions, critical interfaces, and verified production scope before planning changes.
Upload a Drawing
Machining Materials
CNC machining materials must be selected against the drawing, molding environment, wear mechanism, corrosion exposure, and required heat-treatment route. For flash corrective action, material substitution requires documented engineering review because hardness, stability, polish response, and wear behavior can change.
Upload a Drawing
Surface Finishes & Heat Treatment
Surface finishing and heat treatment influence wear resistance, corrosion behavior, friction, polish quality, and dimensional stability of tooling components. Evaluate sequence, masking needs, final-size allowance, and verification records, especially where a finished shutoff or sliding interface is involved.
Upload a Drawing
Quality, Metrology & Documentation
Precision inspection, metrology, and quality documentation provide the evidence needed to assess a corrective action. Align reports to critical dimensions, datums, inspection methods, revision level, material and treatment records, and the actual condition of affected molding interfaces.
Upload a Drawing
Prototyping & Low-Volume Production
Rapid prototyping and low-volume manufacturing support controlled evaluation of revised tooling components before broader production commitments. An RFQ should include drawings, quantity, material, flash symptoms, critical dimensions, desired inspection records, and target timing so the proposed process route can be reviewed.
Upload a DrawingProduction FAQ: Diagnosing Injection Mold Flash
Use flash location, process data, and mold-condition evidence to separate a setup issue from a tooling correction.
What causes injection mold flash at the parting line?
What causes injection mold flash around ejector pins, inserts, or slides?
What causes injection mold flash when clamp force appears adequate?
Can excessive packing pressure cause flash near the gate?
Does melt temperature or injection speed contribute to injection mold flash?
Can poor venting cause flash, or is venting only an air-trap issue?
When does injection mold flash require a tooling change instead of a process adjustment?
Start Flash-Risk Review With Your Drawing
Send the drawing, material, quantity, critical dimensions, and inspection needs so SUUXIANG can review tooling interfaces and flash-risk factors.