
Engineering article
Designing T-Slots for CNC Machining
T-slots are defined by more than their visible opening. A manufacturable design considers the order of operations, cutter access, internal clearance, end conditions, material behavior, and the inspection method. This guide helps engineering teams turn an intended fastening or sliding function into a clear drawing package that can be reviewed before quotation.
On this page
Start with the functional interface
A T-slot usually supports one of two functions: retaining a T-nut or bolt head beneath a narrower opening, or guiding a moving component while resisting lift-out. Those functions may look similar in a model, yet they place different demands on clearance, bearing faces, sliding behavior, and end access. Establish the mating element first, including its relevant standard or approved drawing, rather than selecting slot proportions by visual preference.
Define whether the retained item must slide through the full length, enter from an end, drop into a local pocket, or remain captive after assembly. Also identify load direction, expected adjustment range, debris exposure, coating requirements, and whether the part is structural or merely positional. The design authority should be the product drawing and engineering agreement, especially where a proprietary mating element is involved.
- Identify the intended nut, bolt head, key, or slider before finalizing the profile.
- State whether insertion is from an open end, a loading pocket, or a separate assembly route.
- Distinguish retention requirements from guidance requirements and from clamping requirements.
Plan cutter entry before geometry
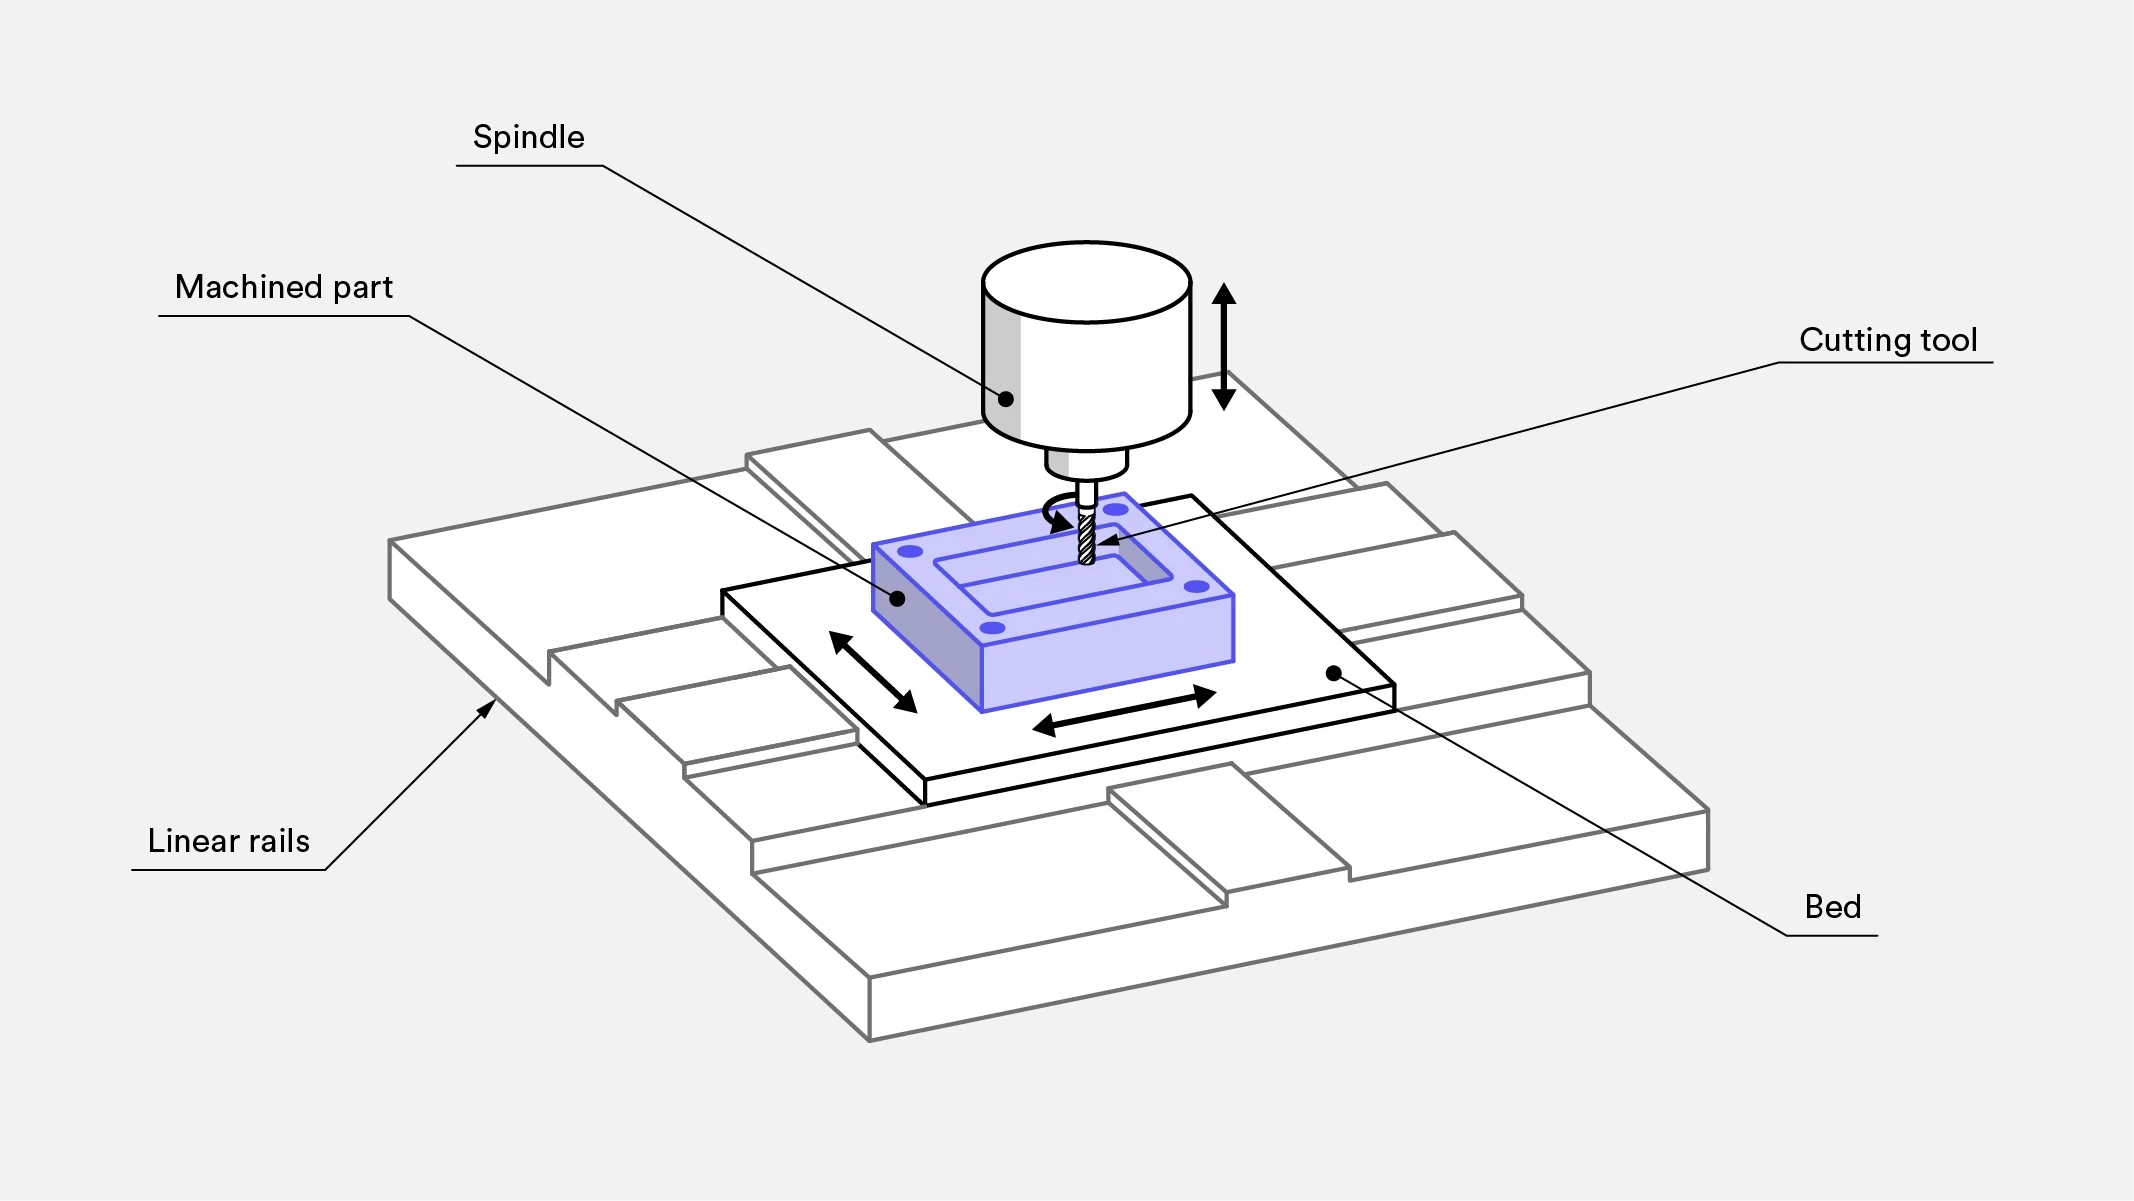
The most consequential question is often not the slot width but how the undercutting cutter reaches the feature. A typical sequence creates the top opening with an end mill, then introduces a T-slot cutter through that opening to form the wider lower cavity. The cutter body and shank need a route that avoids uncut material, walls, fixtures, and already-machined features.
An open slot end can simplify approach and runout. A blind slot can remain feasible, but its terminal shape is influenced by cutter geometry and required clearance. A square-looking internal end may demand another method, a relief feature, or a design revision. Treat the CAD profile as a functional envelope, not proof that a rotating tool can create every corner shown.
- Provide a practical entry location for the undercut cutter.
- Review cutter travel at both ends, not only at the slot midpoint.
- Check nearby bosses, walls, and holes for shank and holder interference.
- Flag features that must remain inaccessible after another assembly operation.
Choose end conditions deliberately
Open-ended, blind-ended, and locally loaded T-slots each create a distinct compromise. Open ends generally offer straightforward tool access and easy insertion, but may expose the retained element or weaken an edge that needs support. Blind ends can retain hardware within a bounded travel range, yet they require deliberate treatment of cutter runout, internal end form, and hardware installation.
A loading pocket or enlarged local entry may allow a captive element to be introduced where a continuous open end is undesirable. It also introduces another feature to dimension, inspect, and protect from interference. Select the end strategy according to assembly sequence, sealing needs, allowable travel, and the actual geometry of the mating component. Do not assume that a nominally compatible fastener can navigate every slot termination.
- Use open ends where assembly access and tool access are the governing needs.
- Use blind ends only after verifying tool runout and mating-part clearance.
- Consider dedicated loading locations when captive hardware must be installed away from an edge.
| End strategy | Useful when | Primary design check |
|---|---|---|
| Open end | Hardware can enter from an edge | Edge clearance, exposure, and available insertion path |
| Blind end | Travel must be bounded or the edge must remain closed | Undercut cutter runout, internal end form, and assembly access |
| Loading pocket | Insertion is needed at a controlled local position | Pocket-to-slot transition and retained-part movement |
Dimension the complete slot profile
A complete definition identifies the upper opening, lower undercut width, neck or web thickness, total depth, length, end condition, and any radii or relief geometry that affect the mating part. Dimensioning only the visible top opening leaves the critical retaining cavity undefined. Conversely, a profile callout without clear datums can make location and orientation uncertain during machining and inspection.
Choose datums from surfaces that matter in assembly. For example, the position of a slot relative to a mounting face may be more important than its position relative to an unfinished edge. Apply dimensional tolerances and geometric controls only where they support the functional stack-up. The drawing, referenced standard, material grade, and engineering agreement should determine any limits; there is no universal numeric tolerance suitable for all T-slots.
- Locate the slot from functional datums, not from convenience edges alone.
- Call out lower-cavity dimensions separately from opening dimensions.
- Define permissible end radii or relief forms when the mating component is sensitive to them.
- Clarify whether coating or finish changes are included in functional dimensions.
Account for material and process behavior
Material selection affects cutting forces, burr formation, surface response, and the stability of slender walls around a T-slot. A thin section may deflect during machining or clamping; a deep undercut may make chip evacuation more difficult; and a finish process can alter edge condition or fit. These are process-planning considerations that should be visible early when the feature is critical.
The desired surface condition also deserves a functional description. A sliding T-nut may be affected by roughness, burrs, coating buildup, contamination, or local damage at the opening. Rather than using a vague instruction such as smooth, identify the surface requirement, permitted edge break, cleanliness expectation, and any applicable standard. The selected material grade and process plan control what is appropriate.
- Identify material grade and required temper or condition where relevant.
- Avoid leaving thin lips or narrow walls without a stiffness review.
- Specify edge treatment on both the opening and hardware contact surfaces.
- Discuss finish sequence when slot fit or electrical contact matters.
Make inspection match function
Inspection planning should follow the feature’s purpose. Opening width may be checked directly, while lower-cavity width and neck geometry may require suitable internal measurement equipment, sectioned validation during process development, or a functional gauge. If free sliding or captive retention is the acceptance criterion, describe the approved mating gauge or representative component and the conditions under which it is used.
Avoid treating a functional test as a substitute for all dimensional information. A part may accept one sample fastener while still having an incorrect location, depth, or surface condition. Conversely, a fully dimensioned inspection can miss assembly difficulty if the mating component, finish state, or insertion sequence is not represented. State required measurements, sampling expectations, and any functional check on the drawing or inspection plan.
- Identify dimensions needing direct measurement versus functional verification.
- Define the gauge or mating component if functional acceptance is required.
- Specify the finish state at which fit is assessed.
- Record datum setup so location results are meaningful in assembly.
Prepare a quote-ready package
A clear request for quotation reduces back-and-forth because it exposes the decisions that change manufacturing approach. Include a controlled drawing and model, material grade, quantity, revision level, required finish, critical dimensions, inspection expectations, and any mating hardware data. Mark T-slots that are cosmetic, load-bearing, sliding, sealing-adjacent, or essential to assembly so review effort is directed to the right risks.
Ask for a manufacturability review focused on entry, undercut travel, terminal geometry, workholding, burr control, and inspection access. This is especially valuable when the slot is near a wall, intersects another feature, ends blind, or is repeated across a long part. If an alternate cutter route or relief detail is proposed, evaluate it against assembly function and drawing intent before authorizing a revision.
- Provide the mating-part drawing, standard, or approved sample where fit is critical.
- State whether substitution of a relief shape or end condition requires approval.
- Identify critical surfaces that must remain available for fixturing or measurement.
- Confirm the revision controlling the quoted configuration.
Questions engineers ask
Can a T-slot terminate in a sharp internal corner?
A rotating undercut cutter naturally produces geometry related to its own form and travel. If a sharp internal corner is functionally necessary, the drawing should define it and the manufacturing method should be reviewed. A relief feature, alternate process, or changed mating detail may be needed.
Should the opening be sized only from the bolt shank?
No. The opening must be considered with the insertion path, retained head or nut geometry, undercut cavity, finish state, and intended movement. The governing dimensions should come from the mating hardware specification or the approved assembly drawing.
What information is most important before requesting a quote?
Provide the latest drawing and model, material grade, quantity, finish, critical fit requirements, datum scheme, inspection needs, and mating-part details. Also state whether the feature is open or blind and how the hardware is assembled into it.
References and further reading
These resources explain related design and manufacturing principles. Project limits, acceptance criteria and process choices must be agreed against the current drawing.
Publication note: this article is general design guidance, not a material specification, a certified inspection report or a guarantee of process capability.
Turn the drawing into a clear manufacturing brief.
Share the current drawing, material, finish and inspection requirements for a project-specific discussion.